


Ok, agreed, there's no chocolate cake that's actually worth dying for, but if there was, this would be it. The recipe comes to us from our friend and fabulous food stylist, Catrine Kelty. She's adapted the recipe from Maida Heatter's Best Dessert Book Ever, who in turn swears it originates from the famous Hotel de Crillon in Paris.
Unlike so many chocolate cakes this one is light and delicate in texture, a thin sliver of a cake, with a deep, dark chocolate flavor- the kind that makes you close your eyes and tilt your head back in rapturous bliss on that first bite. It's easy to make- in fact, the hardest part is getting it out of the pan, and it can easily be made a day ahead.
Did we mention it's flourless? Making it ideal for gluten-free diets and Passover dessert, or a killer ending to a special Valentines Day dinner.
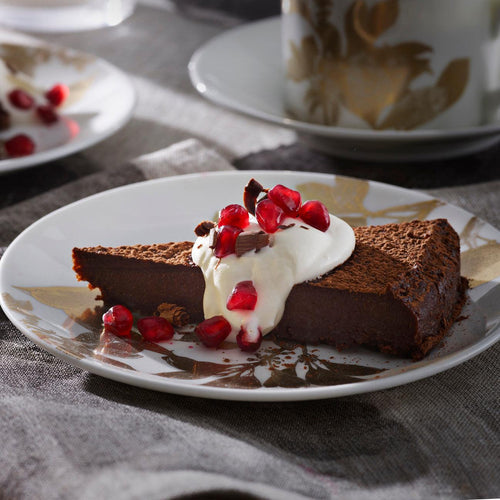
We serve it topped with soft whipped cream (perhaps infused with a favorite liqueur) or lightly dusted with powdered sugar or cocoa powder. A few berries or some pomegranate seeds could add a tart pop of color if you're feeling fancy.
Chocolate Truffle Cake to Die ForIngredients
For the Whipped Cream:
|
Preparation
- Preheat the oven to 350° F.
- Prepare a 9" round cake pan by buttering the pan liberally and then line the bottom with parchment paper cut to fit. Butter the paper and dust it with a tablespoon of unsweetened cocoa powder. Set the pan aside.
- In a double boiler melt the chocolate, butter and sugar together over medium heat. Stir frequently until the chocolate and butter have melted and the mixture is smooth with no trace of grains of sugar.
- Remove the top pan from the double boiler and off the heat beat the eggs in one at a time with a whisk, making sure the mixture stays smooth.
- Transfer the chocolate mixture into the prepared cake pan. Place the pan onto a sheet pan and place in the center rack of the oven.
- Add an inch or two of hot water to the pan and bake for one hour.
- Carefully remove the cake pan from the hot water and let cool completely. Once cool, loosely cover with plastic wrap and put it in the fridge for about 3 hours (or overnight).
- Ready? Here comes the hard part. Remove the cake from the fridge and run a very thin knife around the pan to release the edges. Run some hot water in the bottom of the sink and let the pan stand in it for a bit, but not too long as the cake will melt.
- Cover the pan with a cutting board and turn the pan upside down and bang the pan firmly a few times.
- The cake will eventually release onto the cutting board. It will be quite thin- about 2". Put it back in the fridge without removing the parchment paper until you're ready to serve it.
- When you're ready to serve it, peel the paper from the cake. Don't worry if the cake looks messy and wrinkle- that's where the cocoa powder comes in handy. Transfer the cake to a serving plate or platter and, using a fine mesh sifter, sprinkle the cocoa powder over the entire surface of the cake. Let sit for 30-45 minutes before serving.
For the Whipped Cream:
- In a cold bowl beat the heavy cream and sugar in a stand mixerl until it holds its shape. Aim for more of a thick sauce than a full whipped cream.
- Fold in the liqueur of your choice (if using) and refrigerate until ready to serve the cake.


Leave a comment (all fields required)